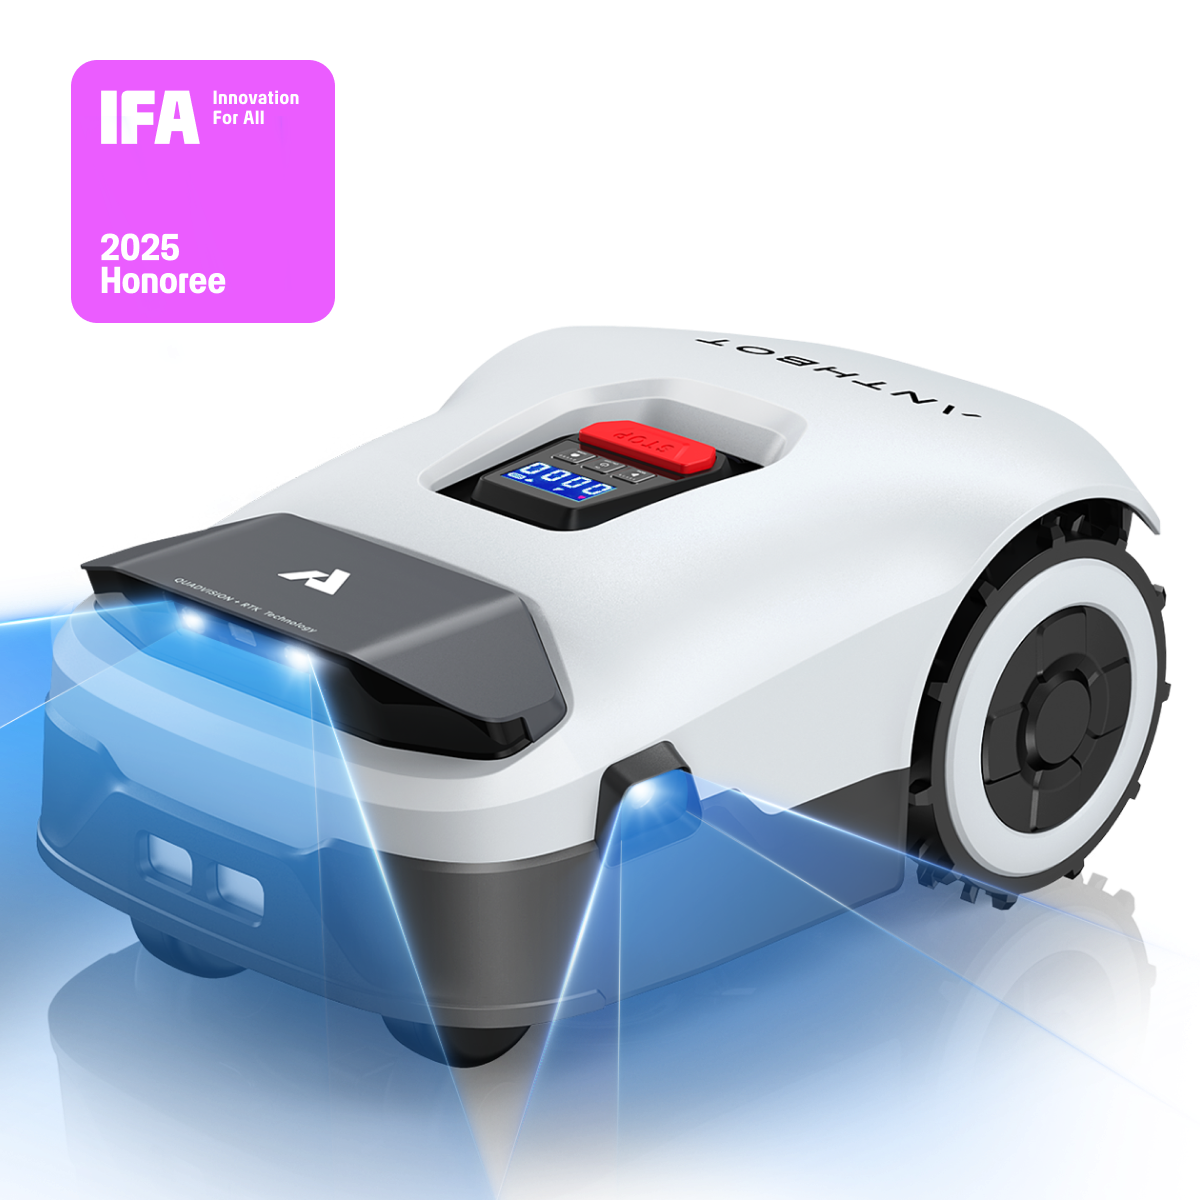
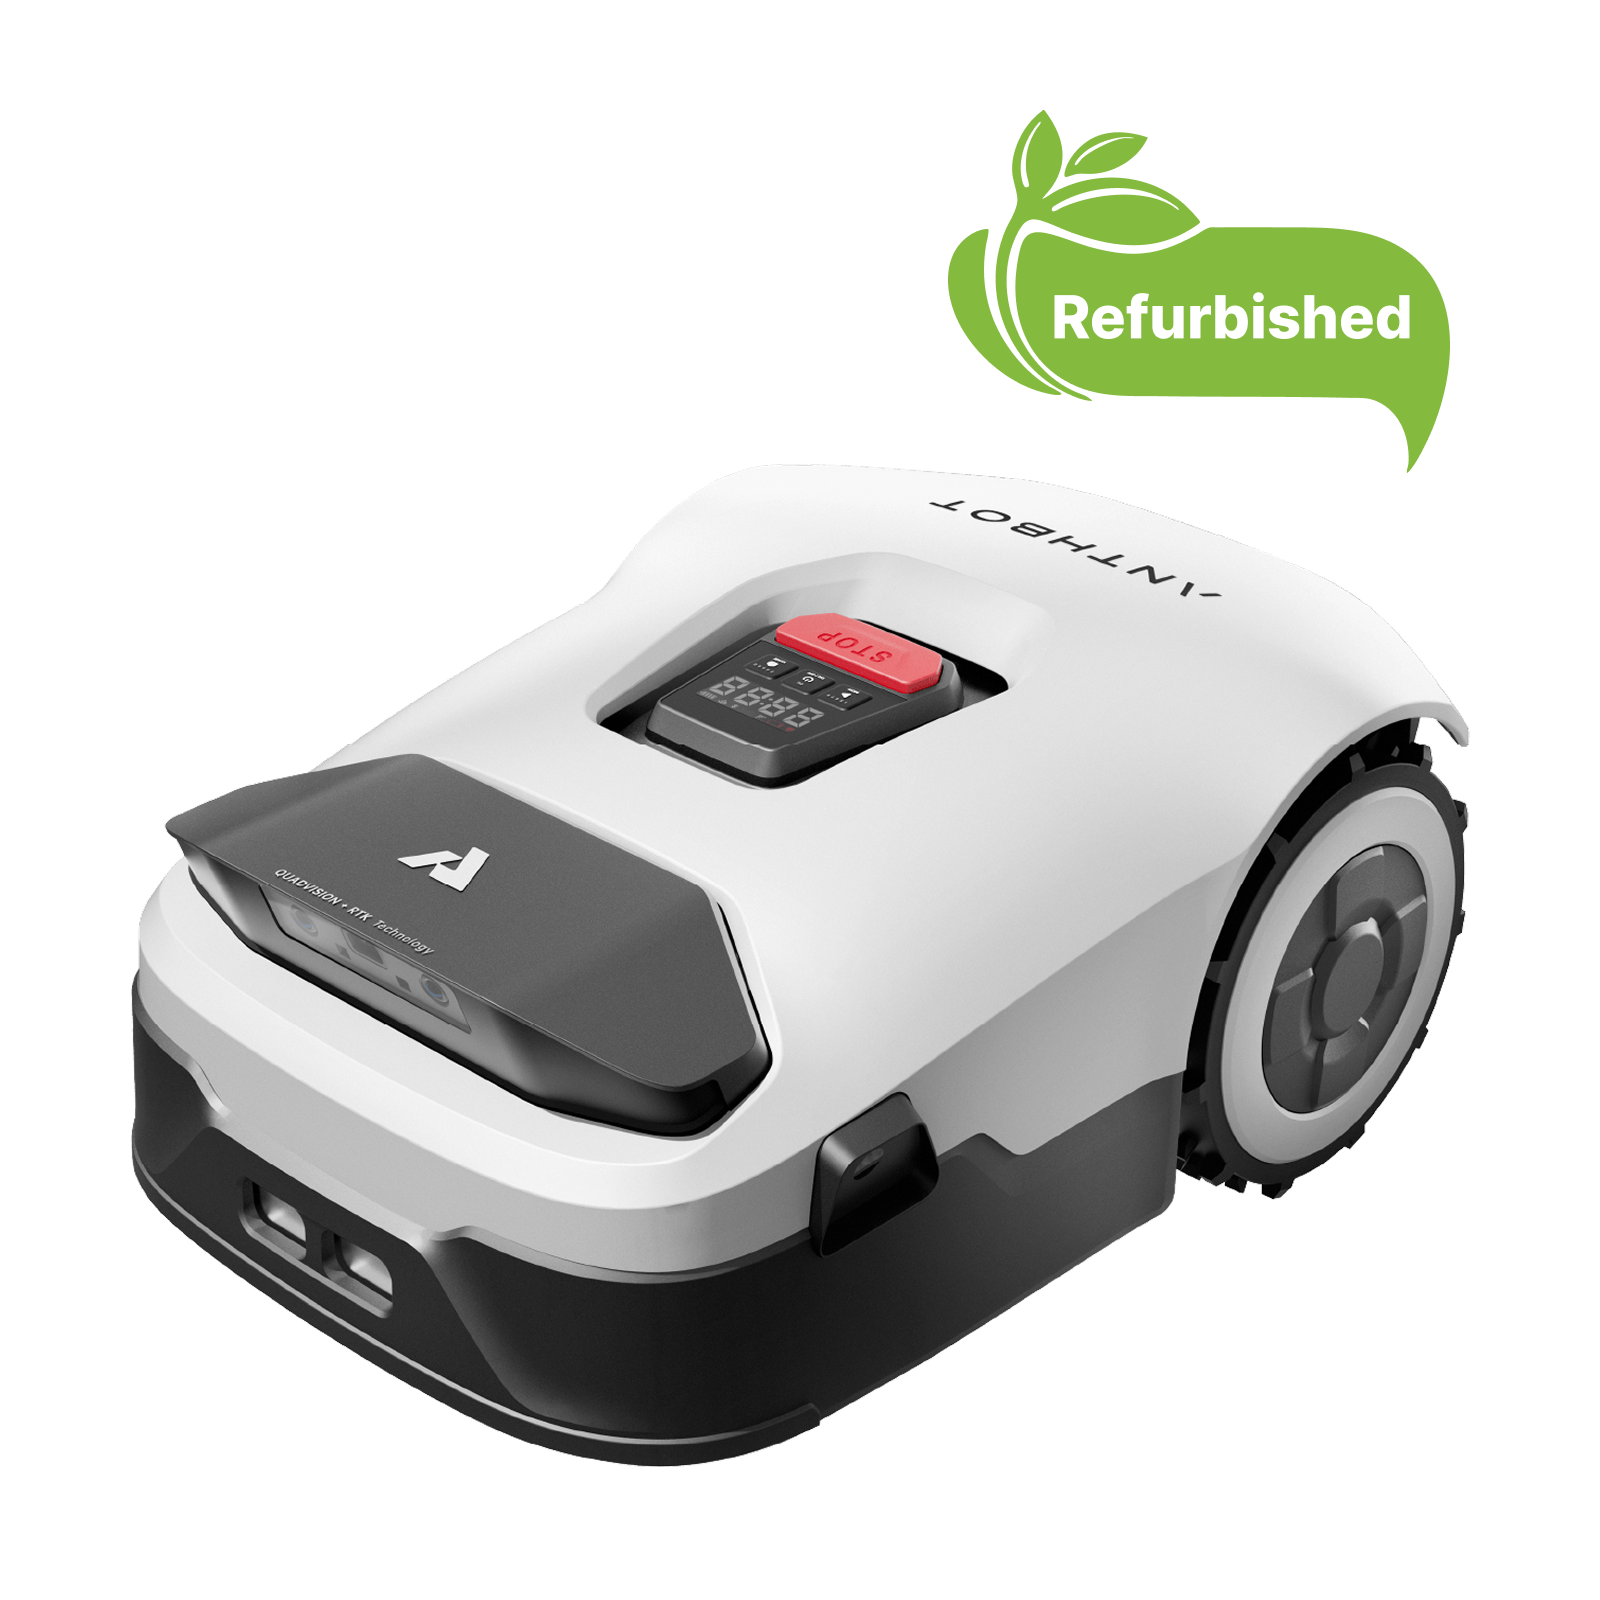
ANTHBOT Pion Series Beginner's Guide
How to install the mower after receiving it? How to wire it? How to connect to the network? ... If you recently purchased a Pion mower, congratulations! This guide is designed to take you from scratch to fully owning a smart lawn manager.
Applicable products: Pion 1000
Packing List
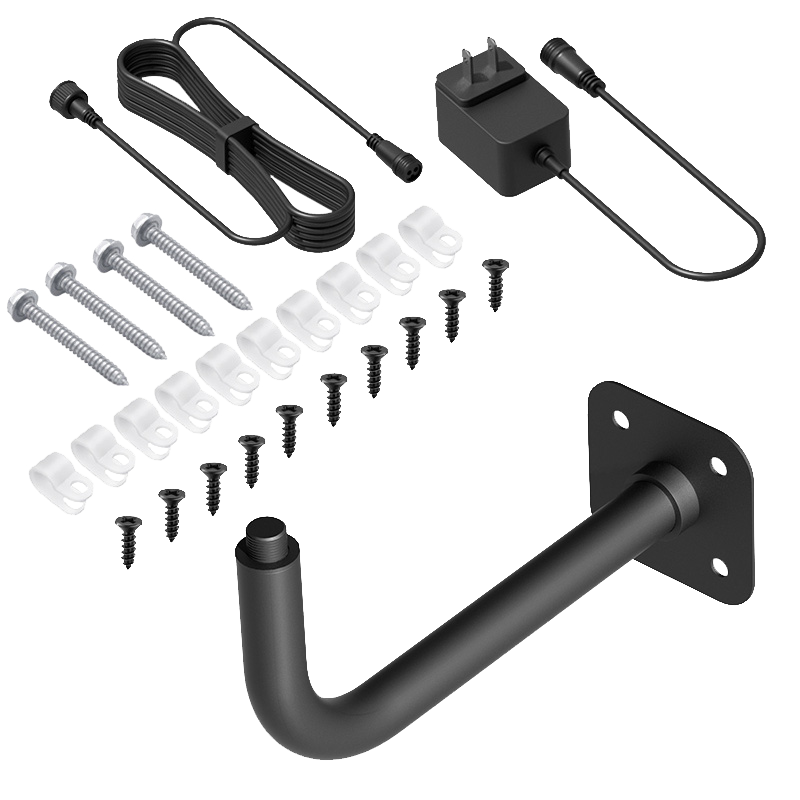
Host*1 (equipped with 3 blades), Manual*1, Quick Guide*1, Measuring Paper*1, Charging Pile*1, Adapter*1, Power Extension Cord*1, Ground Spike*2, Charging Pile Screw*4, Blade*6, Blade Screw*6, Boundary Wire Connector*2, Boundary Wire*1, Wire Spike*160

Correct Installation
Correct Wiring
Determine the boundary line position
Maintain a straight area of at least 1.5 meters/5 feet in front and behind the charging station as the boundary line position.

Insert the boundary wire into the port
Strip off the insulation layer of one end of the boundary wire by 10-15mm/0.39-0.59 inches. Correctly insert the stripped boundary wire into the designated port of the charging station.
Fix the boundary wire
To ensure stability, we recommend using nails to fix the boundary wire to the ground every 75 cm/2.5 feet. Please make sure that the boundary wire is tightly connected to the ground and not loose.
Insert the boundary wire into the port
After connecting the boundary wire, strip the insulation layer of the other end of the boundary wire by 10-15mm/0.39-0.59 inches. Correctly insert the other end of the boundary wire into the other port of the charging station. Warning: Please cut off the excess boundary wire. Please do not place the boundary wire under the charging base to avoid affecting the normal use of the charging base or causing safety hazards.
Check the installation
After completing the boundary wire installation, return to the charging station to check the indicator light status. If the docking station light is solid white, it means that the boundary wire installation is also complete and the connection with the charging station is normal.
Prepare for operation
Move the mower to the charging station and prepare for mowing.

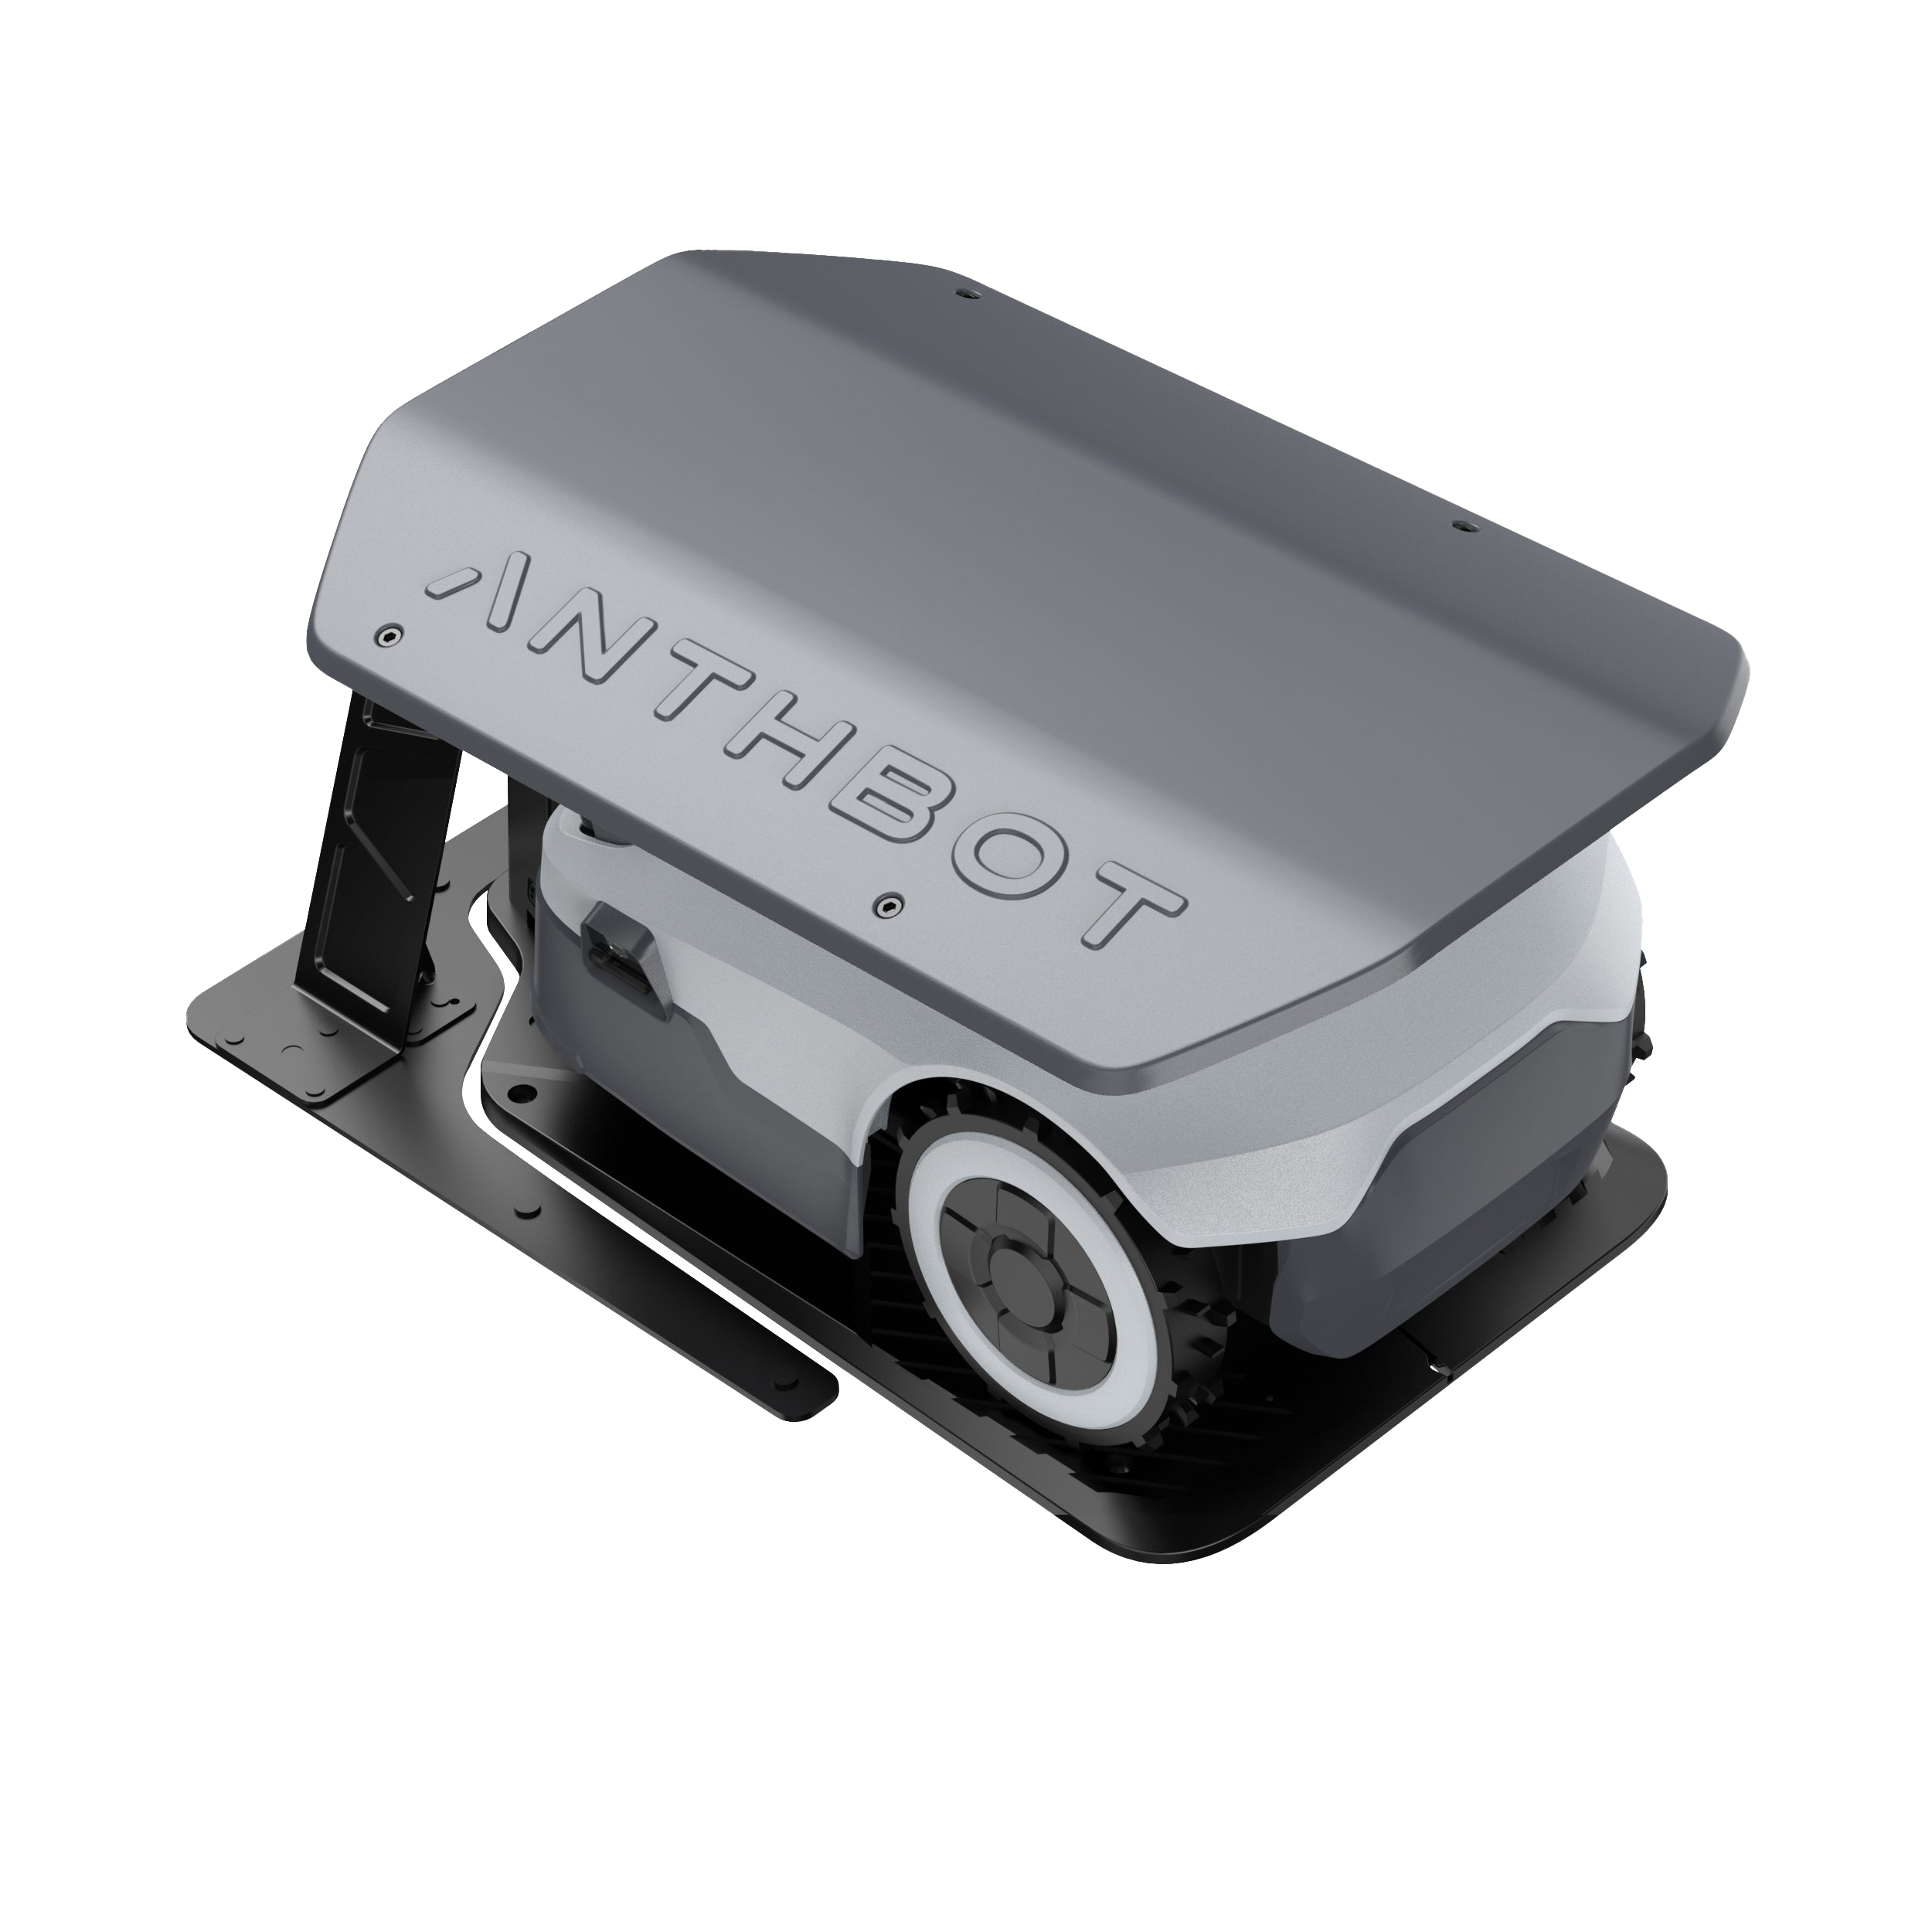
Install the Charging Station
Place the charging station
Place the charging station on a flat, soft ground to ensure that the ground spikes are easy to install.
Install the charging station cover
Reinstall the charging station cover to ensure that it remains waterproof.
Secure the charging station
Ham the 2 metal ground spikes into the holes on the top of the charging station. Tighten the 4 plastic screws with a hex wrench to securely fix the charging station.
Connect the power
supply Connect the plug on one end of the power adapter to the charging station. Connect the adapter to the power supply and make sure the connection is secure.
Check the indicator light
If the charging station indicator light is solid white, it means that the power connection is normal and the charging station is ready for use.
PIN Code Usage
Purpose of the PIN code
1. Equipment operation verification: Before operating the machine, you need to enter the PIN code to verify the identity of the operator. This is to ensure the safety of the equipment and prevent unauthorized use.
2. Lock and unlock: The PIN code is used to lock the device to prevent accidental start-up during maintenance, cleaning or repair. At the same time, after completing the corresponding operation, you can unlock the device by entering the PIN code.
First Decoding
Enter a 4-digit PIN code to unlock. The default PIN code is 0000. Click the OK button 4 times to confirm.
If you want to change the PIN code, please follow the steps below:
1. Open the APP and log in
2. Enter the PIN code modification interface
● After successful login, you need to connect to Pion via WIFI and enter the device home page.
● Click the icon in the upper right corner to enter the function page, click PIN-Code Reset to enter the PIN code modification page.
3. Modify the PIN code Enter the 4-digit PIN code you want to set, and click reset to complete the PIN code modification.
4. Unlock the host When you need to unlock the host PIN code, please follow the steps below:
● "MOW": The current odd number increases by one.
● "HOME": The current even number increases by one.
● "ON/OFF": Confirm the current number.

Network Configuration
Brief Description:
Network configuration is the process of connecting Pion to the home Wi-Fi network. Through network configuration, users can use the application on their mobile phones or tablets to receive device status updates, remotely control Pion, set mowing plans, etc. Network configuration is the prerequisite for realizing all the functions of the smart lawn mower.
Network Configuration Steps:
1. Open the APP and log in;
2. Add a device: Click Add in the device list to start the network configuration process;
3. Ensure permissions: The APP requests Bluetooth permissions, and the user needs to allow it;
4. Search for devices: Click Search and wait for the device to appear in the list. If the device is not found within 15 seconds, the system will prompt the user to check the device status or try again;
5. Select and connect: Select the device from the list;
6. WiFi connection: If the user's mobile phone is connected to WiFi, the system automatically reads and displays the WiFi name, and the user only needs to enter the password. If not connected, the user can manually enter or select an available network. Click "CONNECTION" to connect You can skip configuring WiFi:
● Users can choose to skip the network configuration step, and the device connects to the mobile phone via Bluetooth, but it may be unstable.
● After the user clicks Skip, the device is directly connected via Bluetooth, and enters the main interface after the connection is successful.
● There is no main page map display and firmware upgrade function, and other control and appointment setting functions are used normally.
7. Network configuration result: If successful, the device will be automatically renamed and enter the main interface. If it fails, the reason will be prompted.
APP Function
Scheduled mowing: You can set the robot's mowing plan through the APP, including selecting the date, time, number of repetitions, and ensuring that the plan does not conflict. When the appointment conditions are not met, such as low battery or rain, Pion will send a non-execution notification.
Cutting height adjustment: The height of Pion's blade can be adjusted on the APP, ranging from 30mm to 70mm, with an adjustment interval of 5mm each time. The device will maintain the height set by the user unless it encounters an obstacle.
Mowing record: After each mowing task is completed, Pion will generate a record and upload it to the APP after recharging, showing the mowing area, number of times and details.
Rain protection switch and settings: After turning on this function, Pion will monitor the weather, automatically recharge when it rains, and restart mowing according to the set delay time after the rain stops.
PIN code reset: You can reset the device's PIN code on the APP. After entering the new PIN code, click Reset, and the device and APP will be updated synchronously.
Firmware version and firmware update: The APP displays the current firmware version. If there is a new firmware, it will push an upgrade reminder and you can choose to upgrade.
Device information: Displays the device model, serial number and supported mowing area. Area unit selection: You can select the display unit of the mowing area, square meters or square feet, and perform unit conversion.
Device rename: You can change the default name of Pion and save the new name on the APP. Factory reset: Reset all device settings to factory defaults, including blade height, appointment schedule, etc., but excluding firmware version and activation time.
Device unbinding: You can unbind the device from the APP, and the device will be removed from the user's device list.
Log upload: You can upload the device log to the server for problem diagnosis.
PIN code lock: After locking the device, you need to enter the PIN code to operate specific functions, and other functions will not be affected.
Device sharing: The device owner can share the device with others for use, but the shared person cannot perform OTA updates or share it again.
Robot Update and Upgrade
1. Firmware update: When the lawn mower needs to update the firmware, it can be operated through the ANTHBOT APP. If the update fails, an error code such as E104 may be displayed. At this time, the lawn mower needs to be put back to the charging station and restarted.
2. APP update: In order to obtain the latest user manual and function updates, you need to update the ANTHBOT APP to the latest version. You can download or update the APP in the APP Store or Google Play, or scan the QR code in the manual to download and install it.
Disconnection Detection
Error identification: If the user encounters a device error during the map building process, he should stop the operation immediately and check the device status through the APP or host.
Device reset: Move Pion to the charging pile and wait for a while so that the device can establish communication with the charging pile.
Position positioning:
● Disconnection during map building: Please pay attention to the red pop-up window on the APP, obtain the scale information of the breakpoint location, and locate the breakpoint location during the map building process.
● Disconnection during mowing: Check the mark of the breakpoint location on the map and find the breakpoint location starting from the red port.
Repair disconnection: Check the lines and devices near the location, look for possible disconnection or connection problems, and repair them.
Re-map/mowing: After the repair is completed, please restart the device.

Wiring
1. Please disconnect the power supply of the charging station.
2. Use the cable cutters to cut the boundary wire where you need to install the extension cord.
3. Add cables where you need to extend.
4. Place the boundary wire in the correct position.
5. Place the end of the cable into the disconnect connector. Note: Make sure the end of the boundary wire is visible through the transparent area of the connector.
6. Use the adjustable pliers to press down the cover on the connector to secure the cable. Reconnect the charger to the power outlet.

Detailed Instructions
Click here to view detailed instructions
ERROR CODE


Accessories
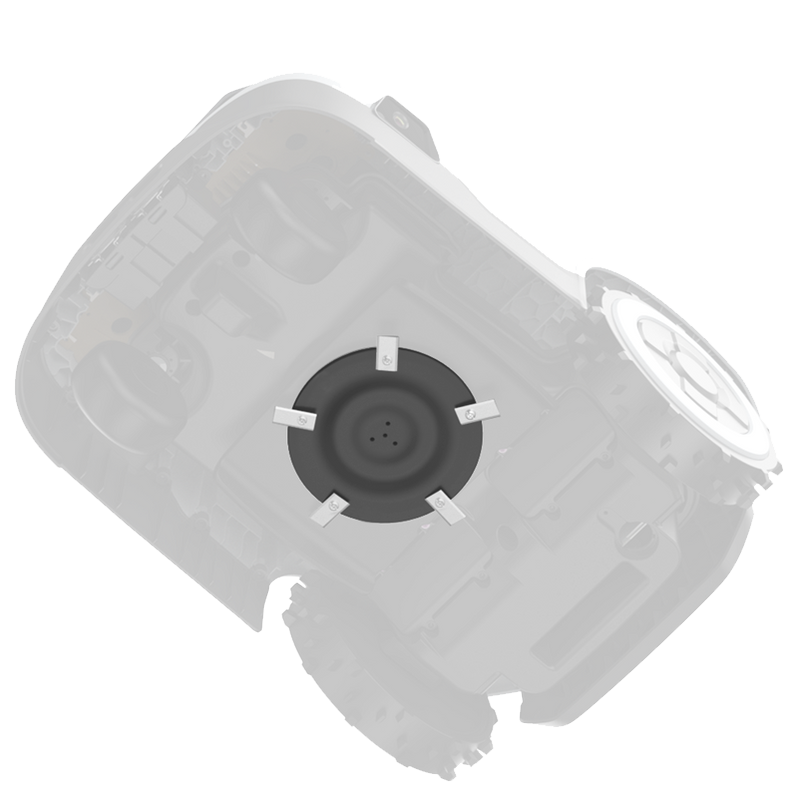
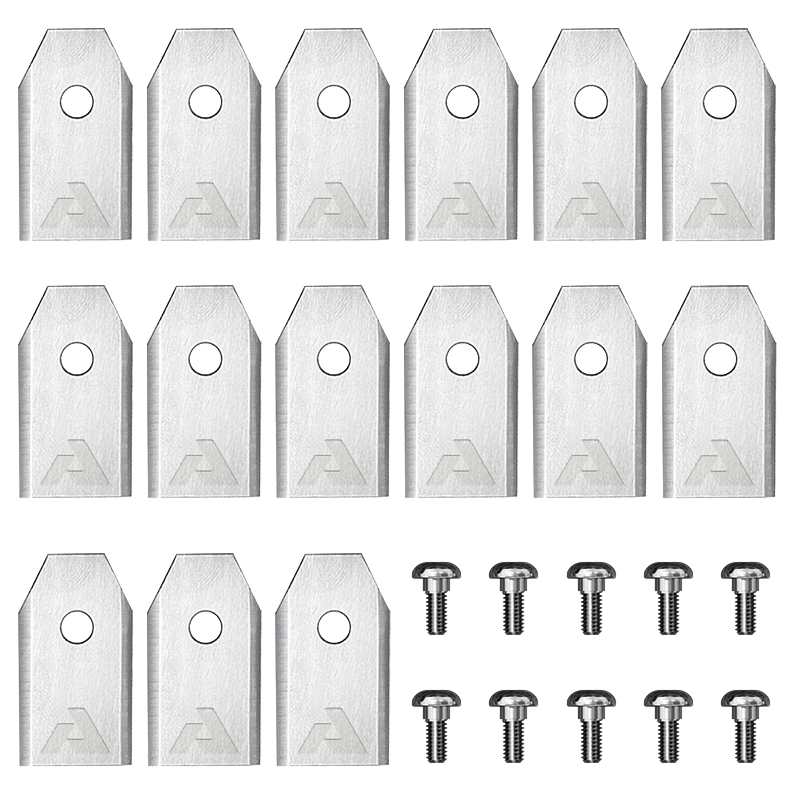
Blade
●Blade Replacement Cycle/Wear Introduction: We recommend replacing the blade every three months. The replacement cycle of the blade depends on the frequency of use and the type of grass. If the blade is no longer sharp or is obviously worn, it should be replaced.
●Replacement: First turn off and disconnect the power supply of the mower. After the blade stops turning completely, remove the blade cover, remove and replace the old blade. When installing a new blade, make sure it is installed correctly and refer to the illustrated instructions if necessary.

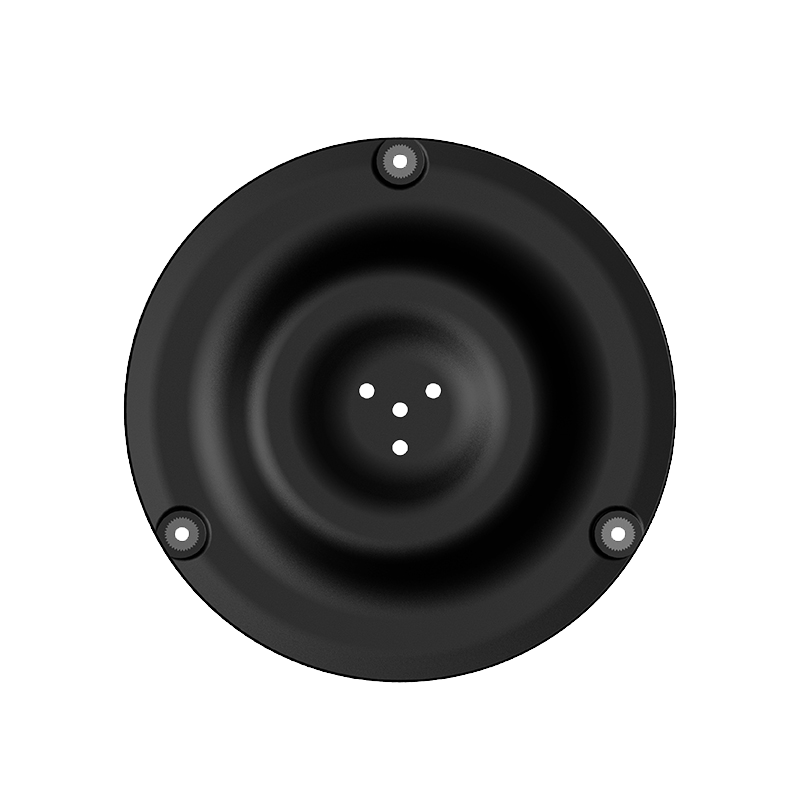
Blade Disc
The blade disc is a key component for mounting blades and controlling the height of mowing. With the ANTHBOT APP, you can adjust the blade disc height to adapt to lawns of different heights.
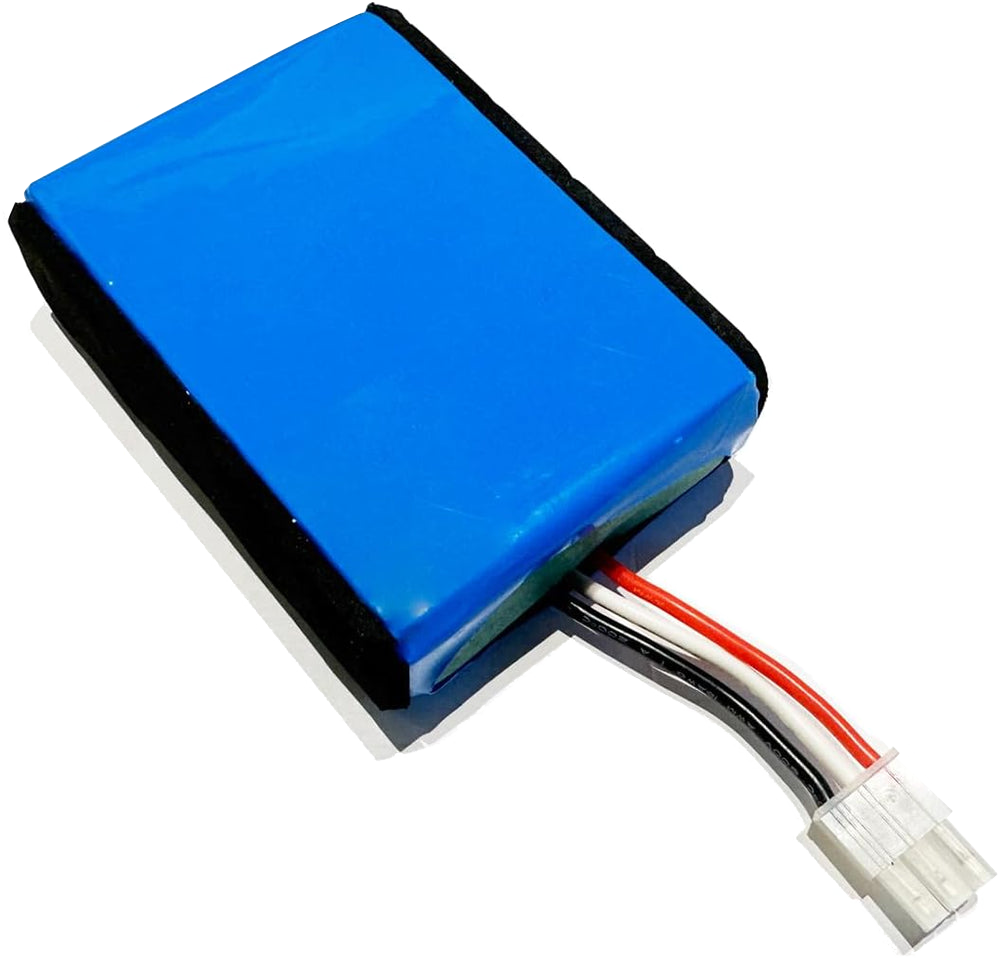
Battery
● Turn off the power of the device first
● Place the device flat on a soft, clean platform
● Unscrew the screws of the battery compartment with a screwdriver and remove/replace the battery
